Wednesday, March 6, 2013

Product Review: 1 Step Lopper by Beadsmith

As most of you know I am a big fan of tools!!!!  I especially love tools which make beading easy, and give me more time for creativity.  I heard about this tool a few weeks ago and was very anxious to try it out to see if it really worked.  I am not a fan of wire work, but I love making things with wire (go figure!).  Loops on earrings and connectors is something I have always had a problem with.  Just getting them to be uniform and 1 size is always a problem.  to remedy this Bead Smith has created a tool called the 1 step looper.  In 1 swift motion you can cut and create the perfect loop.

After watching the video, I was anxious to give it a try, but it was extremely expensive...$50 and upwards in some online stores.  So I went down to the bead district where my husband gifted it to me for around $28 dollars.  To date it is still one of my most expensive tool, so I expect to get some use out of it!!!

I expected it to be much bigger, because the ads make it look huge and heavy!!! But as you can see from me holding it, it is about the size of a normal handheld tool.  It is the same size as my needle nose pliers.  According to my husband I have child size hands, so you can see from the pic below its not as large as the ads portray it to be, which is great!


This tool can....

Trim and Loop in One Step

• Create & trim eye pins in one motion!
• Works with dead-soft or half-hard precious metal wire; craft wire; and copper or brass core wire
• Consistent size loops every time
• Bends & trims wire between 26-18 gauge
• Customize the length of eye pins


I began using it right away and I have mixed reviews on it.

PROS
  • The loops come out perfect every time.  
  • It is very easy to use and the tool is light weight
  • After it is sized, it cuts the loop perfectly
  • used it with 20 gauge wire , which is pretty thick and it worked with no problem.
CONS
  • loops have to be pinched closed after you make them.  
  • I know I am still working and learning the tool, but the loops did not come close to the bead like I want them to, and there was a little space ( see pic below).  This can probably be adjusted in its use after I play with it for awhile
  • As with anything, there is a learning curve.
Overall, I would suggest this to be a good buy for all of you serious beaders.  It will save time, especially if your project involves a lot of loop making.  


Below are 2 videos which will give you more insight as to how to use it.  Please feel free to SEND ME YOUR FEED BACK and let me know how it is working for you as well.  I would like to hear from you out there!


Happy Beading!!!!


Tuesday, March 5, 2013

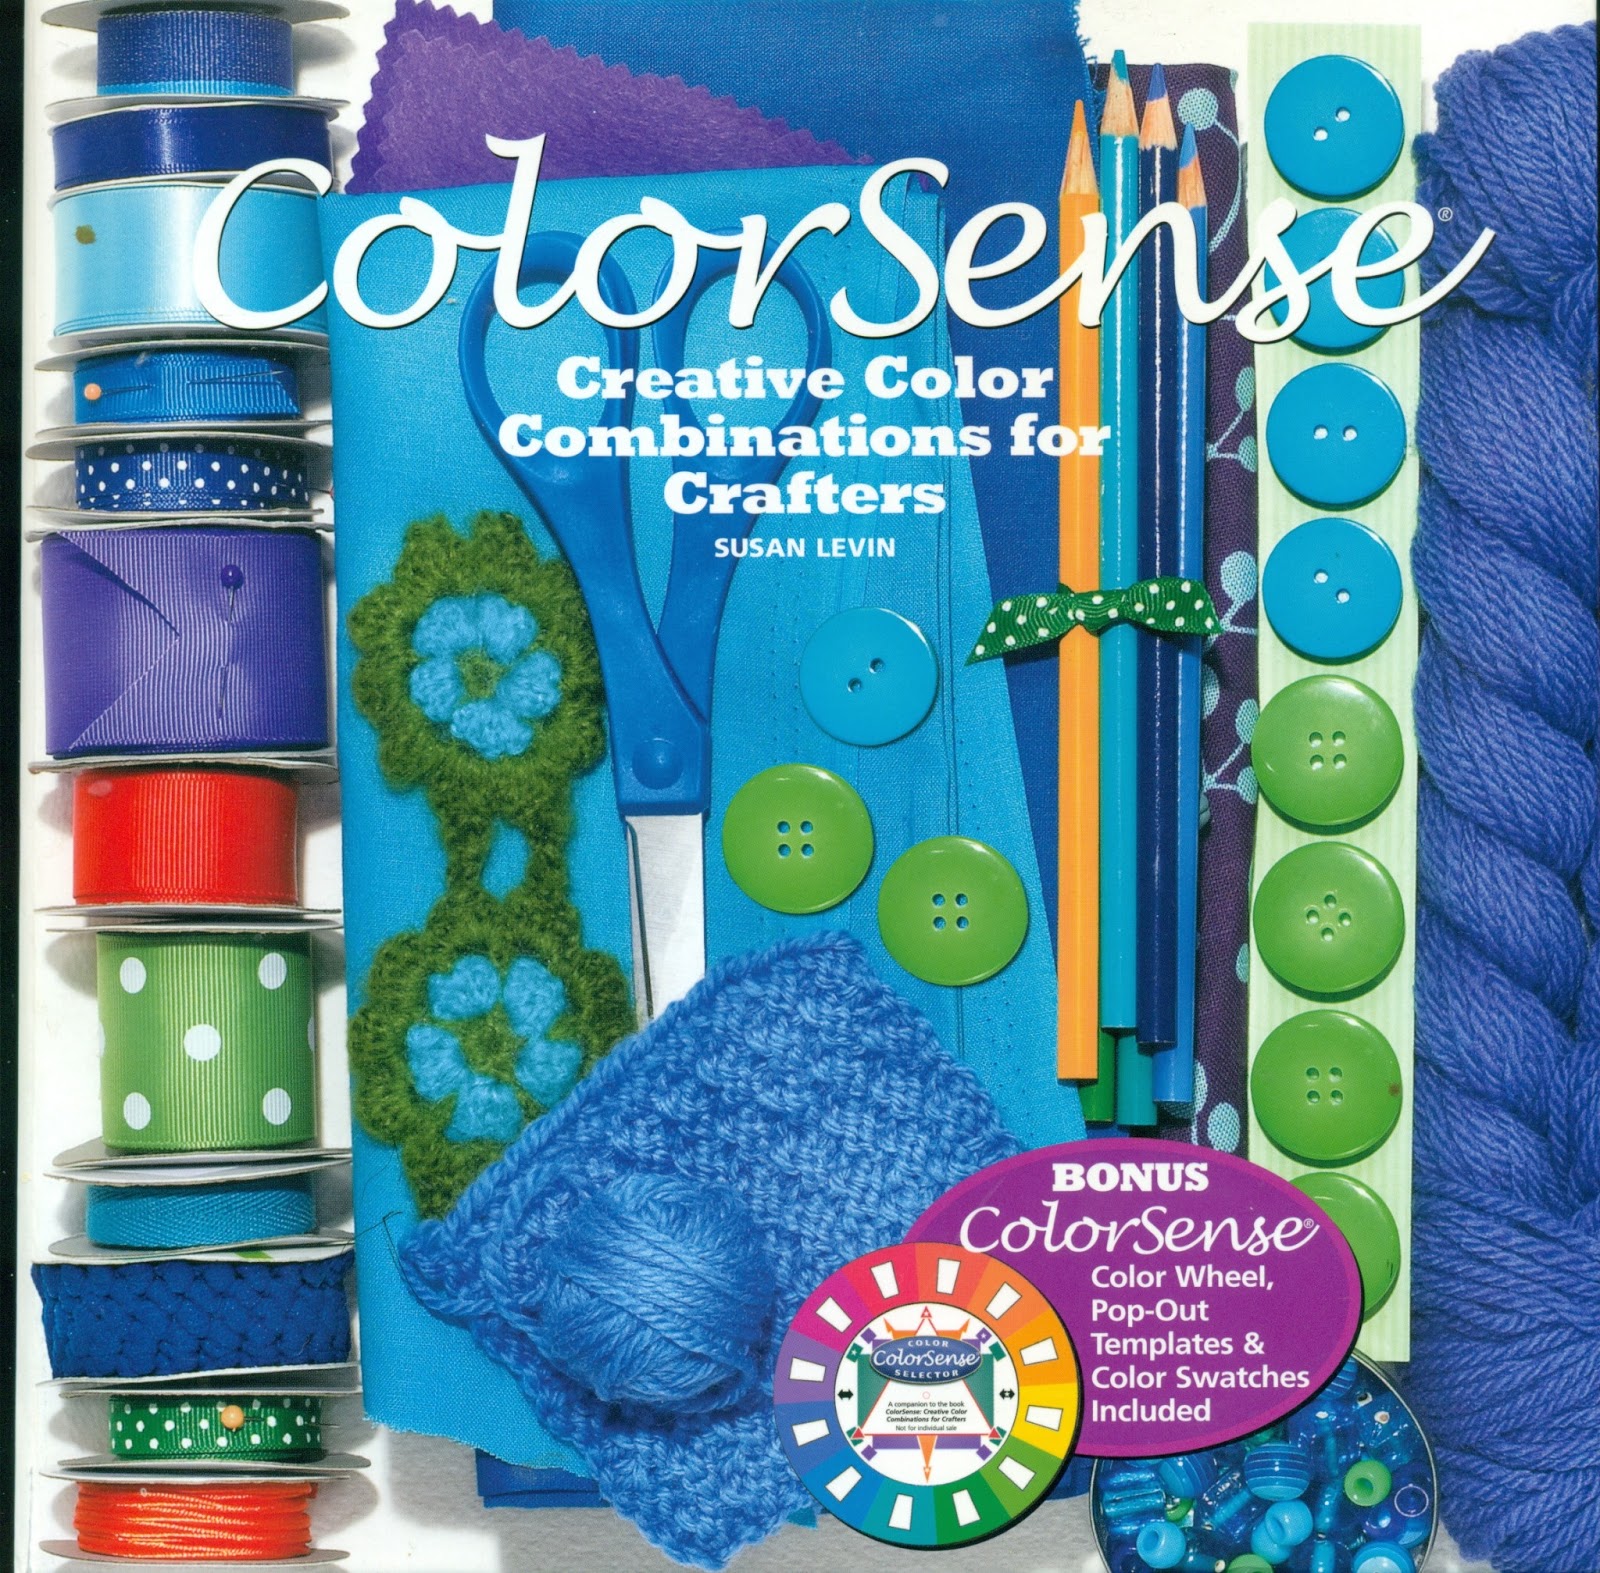
Book Review: Color Sense: Creative color Combinations for Crafters by Susan Levin


Color Sense is a wonderful book when you want to experiment with colors and add new combinations to your palate.  As a beader you can sometimes get into a rut and fall into using the same color schemes over and over again.  In steps this books so you can make your work exciting! 

This book not only includes a color wheel (see below), but has hundreds of pages of color combinations you can choose from as well.  If you have a color you don't know how to match up, thumbing through the pages of this book will give you many suggestions on how to combine it to make it pop.

The book is sectioned into monochromatic combinations, two-color combinations, three-color combinations, and four color combinations. There is also a section of color swatches you can tear out and play with to create different combinations before you buy.  If you want to experiment with color or just shake things up a bit in your work, then this book is definitely for you.

If your still confused about how to use the color wheel, then check out this quick tutorial by Auntie's Bead designer, Karla Schafer.


Happy Beading!


Friday, March 1, 2013

New In My Etsy Store: GOLD!!

This week I went through my bead stash and found some unique shades of gold to bead with.  I created these two pieces below;


https://www.etsy.com/listing/125086412/gold-pearl-long-lariatrope-1920s-flapper


https://www.etsy.com/listing/124945212/gold-netted-tila-beadwoven-necklace

Thursday, February 28, 2013

Product Review: EZ Jump Rings Maker by Beadsmith

During the Fall month's I came across a project that required an unusually large amount of jump rings.  At the time I got out my stash and realized I didn't have enough.  I was going to totally scrap the project when a beading friend suggested I make my own jump rings.

At the time I didn't even consider this was a thing I could do on my own.  She directed me to go into http://www.auntiesbeads.com/ and there I found it....Beadsmith's EZ Jump Rings maker!

After buying this tool, I can honestly say I have never bought another jump ring.  You basically just need 20 gauge wire, the tool itself, wire cutters and a little know how ( see video below ) and you can make your own jump rings!  The set I bought makes jump rings sizes 4mm-8mm, but they do have a set that makes jump rings sizes 10mm-16mm.

Once you choose the size jump ring mandrel you need, you just need to learn how to coil the wire and then you cut them off to make perfect jump rings.
Follow the video below, by Auntie's Beads, and you will be making your own jump rings in no time!

Happy Beading!

Tuesday, February 26, 2013

Book Review: Simple Lace and Other Beaded Jewelry Patterns

Simple Lace and Other Beaded Jewelry Patterns, by Mary Ellen Harte
If you are interested in bead netting then this book is a must have!  It is from this book that I learned how to draw out designs and execute them into netted patterns.  Mary Ellen Hart uses large pics and simple explanations to explain each creation in this book.


 If you have ever had an interest in bead netting, but are intimidated by it, this book will ease your fears, and help you to make beautiful creations while taking baby steps.


Monday, February 25, 2013

Challenge: Wire Wrapped Rings

A few weeks ago someone on my Bead Chat group, hosted by Aunties Beads, introduced a video tutorial on wire rings.

Given my history with wire work I was a bit (well, a lot) intimidated.  I was impressed with what everyone was coming up with so I decided to give it a try.  I went down into the bead district to get the additional tools I needed.  You will need a bead mandrel, some 20 gauge wire, round nose pliers, flat nose pliers, wire cutters, plastic and rubber jewelers hammer,  and of course, some crystals or stones to wrap.

The first 3 or 4 attempts were not so great.  But after the 5th try there was a spark of hope!  By the time I had done 10 rings I got the hang of it!  So then I cut apart everything I did and started again.

I also started looking at other tutorials and getting different ideas to make them tighter and found that using a mallet with a rubber handle helps to tighten and harden them.

Now I have these beauties to wear!!!

It's very therapeutic making them!!! Love pulling the wire tight and coiling the wire on the sides!!!  Next I will try a few with gemstones. 

If you would like to challenge your self see the videos below and start wire working!


If these don't work for your personal learning style, go to you tube.  There are several there that you can look at.  I could not find the one that used the rubber mallet, but it did help to harden the wire and and make it look more uniform when I was shaping it.

Happy Beading!

Friday, February 22, 2013

New In My Etsy Shop: One more Lariat and a Wedding Collar

I promised I would put one more Lariat in my Etsy store and here it is;

https://www.etsy.com/listing/123998605/black-and-silver-pearl-long-lariatrope

I found some really pretty swarovski crystals and decided I wanted to add another necklace to my wedding jewelry collection, and here it is;


https://www.etsy.com/listing/124297159/swarovski-crystal-white-netted-wedding